Android Video Chatting in 30 lines of Code – TUTORIAL

With the onset of several frameworks & libraries – both on the web & mobile, it’s now easier than ever to implement complex features in a few lines of code. From chat apps to AI-powered tools like text to voice, developers can now integrate advanced functionalities seamlessly.
And today we’ll be doing exactly that, we’ll build a Video Chat application for Android in 30 lines of code. Sounds exciting? Let’s dive in!
Table of Contents
Tools Required for the Video Chat App
As mentioned before, we’ll be using a ton of frameworks, APIs, and libraries to shorten the code. For our video app, we’ll be using the following tools
Android Studio

To build android apps, the most used & the “standard” tool according to a lot of people is Android Studio.
Android Studio is the most complete development platform for Android Apps. It has an integrated IDE (with IntelliSense), Android SDK Manager, the ability to manage/create Virtual Devices ( or Android Emulators ), and a lot more advanced features that make android app development a piece of cake.
Agora.io

Agora is a package/plugin available for a Wide variety of platforms that provides the Video Calling Service for us. There are many such VideoChat SDKs on the market such as WhereBy, Stream.io, etc all having their pros, cons, and varied pricing. However, for our app, we’ll be using Agora as it’s easy to implement and provides 10,000 free minutes per month, and that too without credit card/debit card details.
Part 1: Installing Required Tools for the Video Chat App
Before we get started on the app, we need to install a few tools
Android Studio
- To install Android Studio, visit their official website, https://developer.android.com/studio
- Click on the Download Android Studio button and wait for the installer to finish downloading
- Once the installer is downloaded, open it and choose all the default options that Android Studio provides
Android Virtual Device
To test our android application, we can generate the .apk file and transfer it to our phone every single time that we need to test it. But that can quickly become overwhelming. To solve that, Android Studio provides us with something called Android Virtual Device, which allows us to Emulate android apps on our pc/laptop
To create a Virtual Device, click on Virtual Device Manager

Then click on Create New Device and you will be presented with the following screen

Select the options such as Screen Size, Device Type, etc according to your requirement, and your very new virtual android device is created!
Try running your virtual device, and if everything went okay you should see the following screen

Part 2: Creating an Agora SDK Video Call Account
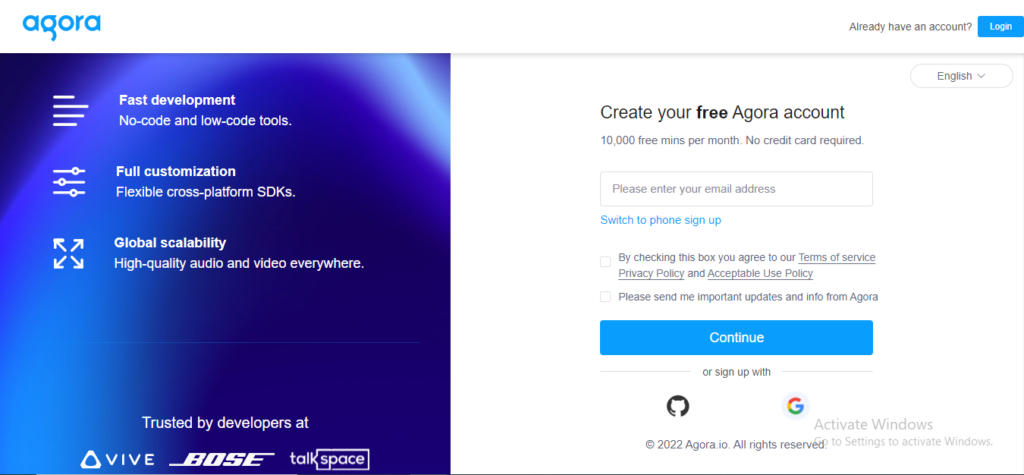
To use the Video Call Service of Agora.io we need to create an account on their website first
To create a free Agora SDK account
Go to their official website https://agora.io and click on Get Started

Fill in your details and you should be redirected to the Agora Console and will find a prompt to Create Your First Project

Let’s name the project MiniVideoChat and Create the project
After creating your project, you should see a new entry in your console as shown below

Take note of the details such as AppID as we’ll be using them later in the code.
Part 3: Understanding The Basics Of Android Development
Before going on and writing the code for the Android Application, we must take a little step back and try to understand what makes up an android application.
To answer that, any Native Android Application consists of 2 basic parts:
- The Layout/Views
- The Activity
Layout/Views in Android Applications

In an Android Application, the Layout is what makes up the User Interface ( UI ) of the app.
A layout consists of multiple Components called Views, which when combined make a Layout of the android application.
To put it simply, Views are the elements that are displayed on the screen ( for instance, Text, Image, Button, etc ) and Layouts help in aligning these elements in order or Laying Them Out.
Here are a few examples of different Views that android supports
- TextView: A small block of Text
- ImageView: As the name suggests, it is a block of an image, that can be resized as per your requirement
- Button: A standard button with some Text on it
And a lot more…hopefully this gives you an idea of what exactly are Android Views. Let’s now have a look at various examples of Android Layouts
- Constraint Layout: This is the default layout of any android app, it allows you to place the views anywhere with the drag-and-drop functionality provided by Android Studio
- Linear Layout: As the name suggests, this layout will neatly arrange all of the views in a Linear Fashion ( whether it be a Row or a Column )
- Table Layout: This should be pretty easy to guess, it arranges all of the Views in a customizable Table-like structure
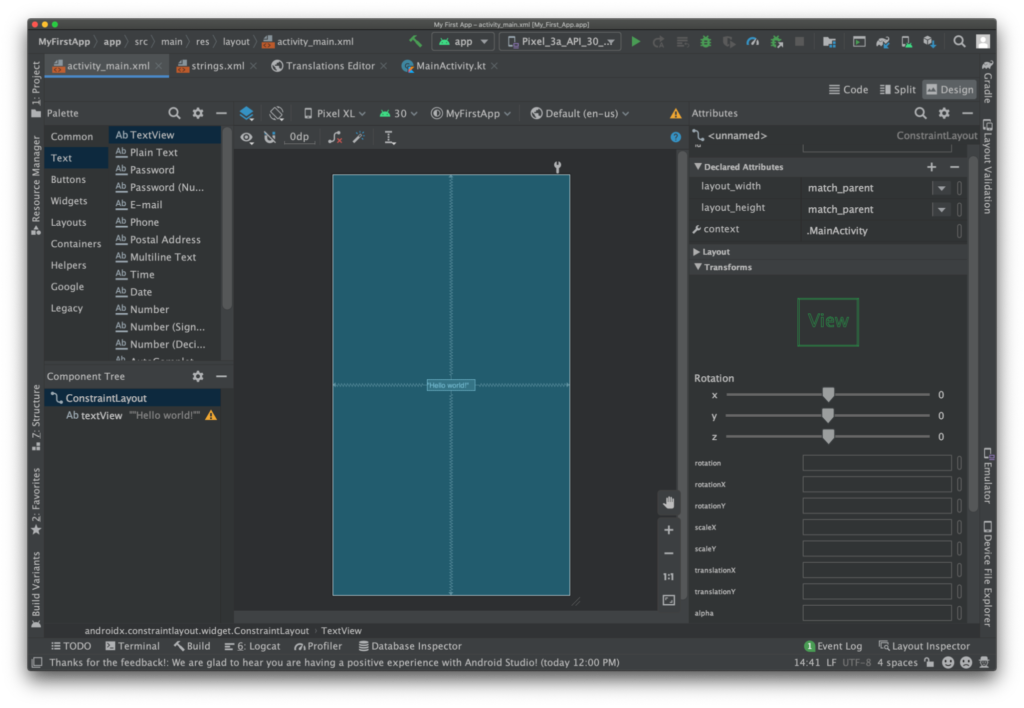
In Android Studio, layouts are mostly coded in XML Format. But do not worry since we’ll be learning to use the default Design Tool that Android Studio provides for drag&drop designing of the UI
Bonus Tip:
Layouts are also known as ViewGroups in the Android Development world
Activities in an Android Application

We discussed that Views/Layouts make up the User Interface ( UI ) part of the application. To make the App interactive ( for eg. responding to button clicks, showing animations, and a lot more ) we require some additional functionality.
This is where Activities come in. In an Android Application, the Activity is constantly being run in the background and is responsible for responding to User Interactions and has the power to Update The UI anytime. By default, every android application has only one activity called the MainActivity
Activity is usually written in Java or Kotlin but in this tutorial, we’ll be focusing on writing the Activity using Kotlin as it is more modern and starting to get popular among newcomers in the Android Development field
Comparison of Android App with Web Application
If you’ve worked on Web Apps before, a good way to understand Layout/Views and Activities would be to compare them with HTML/CSS and JavaScript
In the web development world
- Layout/View is just a combination of HTML + CSS
- Activity is just like JavaScript, as it helps to make the page interactive and has the power to Change the UI
Part 4: Setting Up the Video Chat App Project in Android Studio
Now that we have understood what Views & Activities are, it’s time for us to set up the project on Android Studio.
To do that,
- Open Android Studio and click on the New Project button as shown below

- It will then prompt you to choose a pre-built Activity for the app, since the goal is to learn more, we will be choosing Empty Activity so that we can build the app entirely from scratch

- You will then be prompted with another form that will ask you to fill in the app details such as App Name, Package Name, Project Location, Language, etc.

- The only thing we need to change in the above form is Name, Package Name, and Language.
- Choose the name & project name fields according to your preference, but for Language, make sure to select Kotlin since we already discussed that the application will be built in Kotlin

- Another important thing to note is that the Agora SDK ( current version ) only supports android devices above Android 6+. So make sure you set the Minimum SDK field accordingly
- Click on Finish to finish creating the Android Studio project

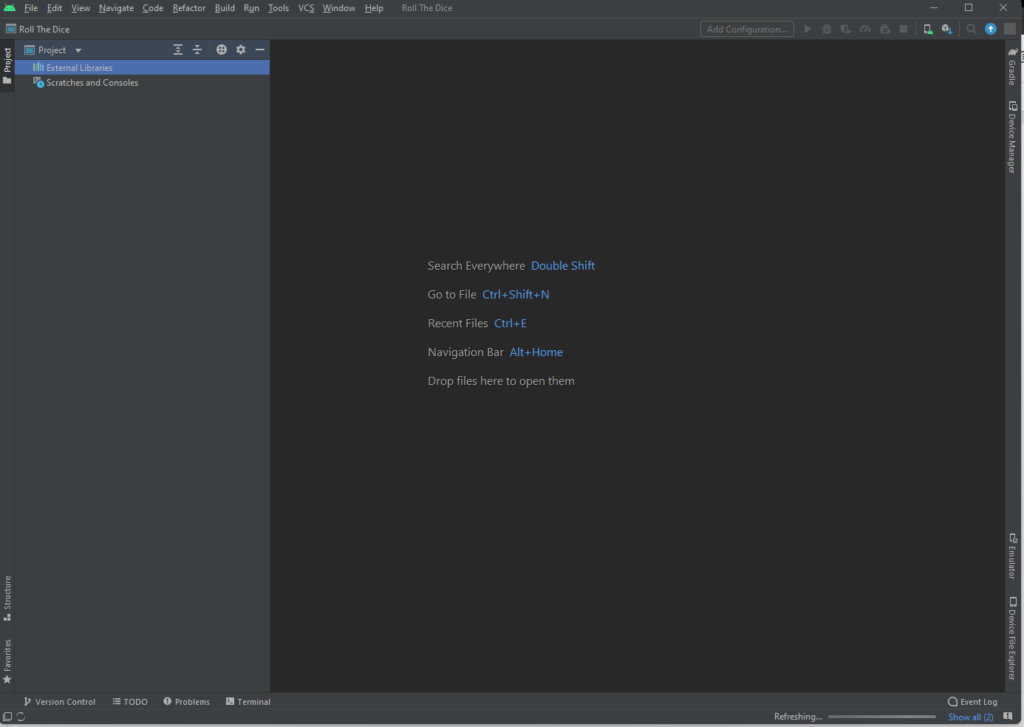
- Wait for a few minutes until the Project is done creating. You will then see all of the project files and the two main files activity_main.xml ( The layout ) and MainActivtiy.kt ( The activity ) files should already be opened for you

Part 5: Building The Video Chat App
Before we get started on building the Application, it’s important to install the required dependencies for Agora
To add the dependencies,
In settings.gradle:
- Since the Agora SDK is hosted on Jitpack, we have to add Jitpack in the repositories section. To do that, we add the following code.
dependencyResolutionManagement {
    repositoriesMode.set(RepositoriesMode.FAIL_ON_PROJECT_REPOS)
    repositories {
        google()
        mavenCentral()
// new line here
        maven { url 'https://www.jitpack.io' }
    }
}
In build.gradle
- For Android Studio to be able to install a package from the JITPACK repository, we have to specify the Package Name & Version. We can do that by adding the following code in the build.gradle file
dependencies {
...
   implementation 'com.github.AgoraIO-Community.Android-UIKit:final:v2.0.6'
}
Since we are building a VideoChat Application, we must request the user for the following permissions:
- Permission to Record Video
- Permission to Record Audio
- Permission to Access Bluetooth Devices ( Optional )
.. and a lot more.
To manage permissions of the Android App, we go to the AndroidManifest.xml file, there we can add/remove all of the permissions required by the Android Project
To request the necessary permissions for the VideoChat application, add the following code in AndroidManifest.xml
   <uses-permission android:name="android.permission.READ_PHONE_STATE"/>
    <uses-permission android:name="android.permission.INTERNET" />
    <uses-permission android:name="android.permission.RECORD_AUDIO" />
    <uses-permission android:name="android.permission.CAMERA" />
    <uses-permission android:name="android.permission.MODIFY_AUDIO_SETTINGS" />
    <uses-permission android:name="android.permission.ACCESS_NETWORK_STATE" />

    <!-- The Agora SDK requires Bluetooth permissions in case users are using Bluetooth devices.-->
    <uses-permission android:name="android.permission.BLUETOOTH" />
Now that we have installed Agora SDK in the Android Project and requested all the required permissions in AndroidManifest.xml. It’s finally time to work on the code
Inside MainActivity.kt you will see the following code by default
package com.curiousco.simplevideocall

import ...

class MainActivity : AppCompatActivity() {
    override fun onCreate(savedInstanceState: Bundle?) {
        super.onCreate(savedInstanceState)
       setContentView(R.layout.activity_main)

    }
}
Let’s try to understand the above code step-by-step
- Firstly we define the package name of the android application using package <package name>;
- In the next few lines, we make necessary imports of external files for the MainActivity
- Every Activity in Android Development is a Class with several methods. So, we create a MainActivity class and define a method onCreate().
- The function onCreate() is run only once and that too, only when the Activity is Started for the first time
- Inside onCreate() the first thing we do is to set the content on the screen as described in activity_main.xml and to do that we use the setContentView() function and pass activity_main as a parameter to it so that the XML file is rendered onto the screen
Then, we add the code for integrating Agora SDK into the MainActivity
        val agoraView = AgoraVideoViewer(
            this, AgoraConnectionData("2ad863383fd542e7b7cf3fd378d8c90a")
        )
        this.addContentView(
            agoraView,
            FrameLayout.LayoutParams(
                FrameLayout.LayoutParams.MATCH_PARENT,
                FrameLayout.LayoutParams.MATCH_PARENT
            )
        );
agoraView.join("friends_chat");- Firstly, we create an AgoraVideoViewer by passing the APP ID that we got in the “Creating the Agora SDK” section
- After getting the AgoraVideoViewer, we store it inside agoraView variable
- Then, using the addContentView() function, we add the AgoraView to the Layout and by using the FrameLayout method we tell the Layout that agoraView should take up the Whole Screen ( or “MATCH_PARENT” )
- We then join the “friends_chat” channel by using agoraView.join(“channel-name”)
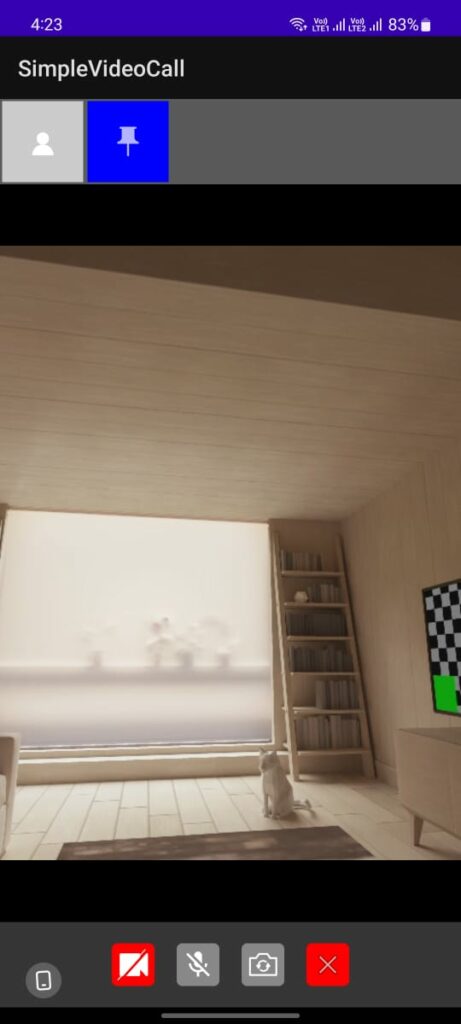
Save the file and your app should now be completely working!
To check whether everything is working correctly, we will Run The App on Emulator using the Green Play button present in the top-right corner.

And that’s it! Agora SDK is now integrated with the Android App, it’s now time to export the APK and try it out on your Android Device
Part 6: Exporting the APK
To build an Android Studio Project click on Build -> Build Bundles/APK -> Build APK as shown below

Depending on your computer, this process can take anywhere from 5-10mins after which the APK File should be generated.

Congratulations!

Conclusion
Congrats on coming this far and building the entire application within or close to ~ 30 lines of code. Video chat has lot of applications including edtech and healthcare and it testing remote services in soil tech etc . A good next step would be to learn more about Android Development and explore these kinds of interesting packages, not just for Video Calling but for many other wide purposes such as Instant Messaging, Support Bots. If you’re interested in Agora, they provide a lot of other services other than Video Chat, Including – Voice calls, Real-Time Messaging, and a lot more.
If you found this interesting and learned something new today, do share it with your friends!
